
How many of us have practiced suture removal in occupational or physical therapy school?? NOT I!!
Often, hand surgeons will ask the therapist to remove sutures and sometimes the order will even say “remove sutures when ready”
SO NOW WHAT? How to remove continuous sutures? First, we can cover the basics of sutures!
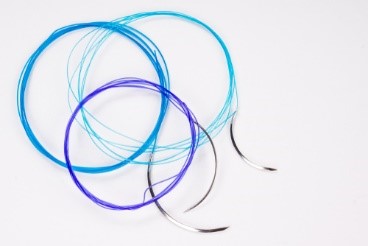
There are two basic classifications for suture material, absorbable and non-absorbable. Absorbable sutures typically do not require manual removal, because the enzymes that live in the body’s tissue will digest them. Non-absorbable require a healthcare practitioner to remove them however sometimes they can be left in permanently for example sutures placed in tendons are typically never removed.
You may encounter patients with different types of sutures, or a different technique was utilized to place them.
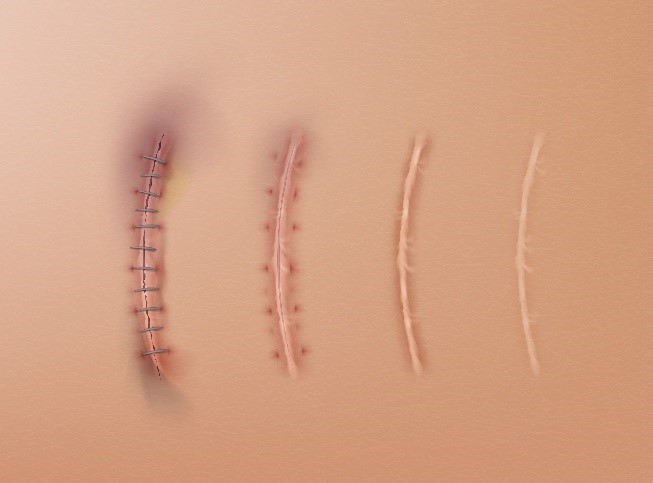
The most common types of suture techniques you will see in the hand therapy setting is the interrupted suture techniques followed by the continuous sutures.
Interrupted Sutures:
After a stitch is made the material is cut and tied together. After this another stitch is placed and again cut and tied together, this step is typically repeated until the wound is closed. This technique usually takes a little longer than the continuous suture removal technique.
Continuous Sutures:
A series of stitches that use one single strand. This allows the tension to be distributed evenly. These are typically very easy to remove and can be placed quickly.

Buried Sutures: This is when the knot of the suture is found within the tissue. This suture is typically not removed.
Deep Sutures: These are placed in the layers of the skin and deeper tissues. These are either continuous or interrupted. Typically, these are used to close fascial layers.
Now for the Million Dollar Question? When should the sutures be removed?
This often will vary form patient to patient and may be dependent on how well the wound is healing. If the patient is diabetic and demonstrating poor wound healing or poor wound closure you may be inclined to leave the sutures in place a little longer compared the young kid whose incision is healing very well.
Guidelines for Suture Removal
Arms 7-10 days
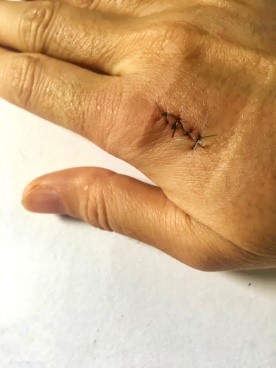
Dorsal aspect of the Hand 10-14 days
Palms of Hand 14-21 days
When removing the sutures make sure you use a sterile suture removal kit. Pick up one end the suture and cut it, trying to stay as close to the skin as possible. After it is cut slowly pull the suture strand.
1 Comment
Leave a Comment
More To Read

All about kinesiology taping for upper extremity injuries and conditions!
All about kinesiology taping! Elastic is also known as k-tape, Kinesio-tape, and kinesiology taping. Elastic tape is all over the marketplace and is often seen on professional athletes. It can be found in most therapy clinics and is used to treat both orthopedic and neurological conditions. There are limited studies supporting the use of…

New Distal Bicep Tendinopathy Provocative Test for Hand Therapist
Caekebeke, P., Schenkels, E., Bell, S. N., & van Riet, R. (2021). Distal biceps provocation test. The Journal of Hand Surgery. The Skinny: These surgeons were looking for a provocative test for distal bicep tendinopathy (distal biceps tendonitis test), specifically partial tears, that was more sensitive and specific. Complete tears are more easily tested in…

Does Obesity or Smoking change the outcomes for Distal Radius Fractures
Hall, Matthew J., Ostergaard, P., Dowlatshahi, A., Harper, C., Earp, B. Rozental, T. (2019). The Impact of Obesity and Smoking on Outcomes After Volar Plate Fixation of Distal Radius Fractures. The Journal of Hand Surgery. In Press, Corrected Proof, Available online 31 October 2019. Doi: https://doi.org/10.1016/j.jhsa.2019.08.017 The Skinny- Distal radius fractures are one of the…

THUMB ABDUCTION IN PATIENTS WITH CMC ARTHRITIS? HOW DO YOU MEASURE?
Article Review THUMB ABDUCTION IN PATIENTS WITH CMC ARTHRITIS? HOW DO YOU MEASURE? Corey McGee PhD, OTR/L, CHT , Virginia O’Brien OTD, OTR/L, CHT , Jennifer Skye MS, OTR/L, CHT , Katherine Wall MOT, OTR/L , Thumb Carpometacarpal Palmar and CMC Radial Abduction in Adults with Thumb Carpometacarpal Joint Pain: Inter-rater Reliability and Precision of…

Sign-up to Get Updates Straight to Your Inbox!
Sign up with us and we will send you regular blog posts on everything hand therapy, notices every time we upload new videos and tutorials, along with handout, protocols, and other useful information.
Yourwebhoster.eu