How To Do A Fast but Thorough Hand Therapy Assessment
Filed under Evaluation
We don’t get a lot of time. Sometimes new patients come in unexpectedly or someone comes at the wrong time and your 1-hour block for an eval is suddenly only 30 minutes. Do you know how to get the most out of your eval time with the patient? Do you know what things are the most important for getting a complete eval when time is limited?
Thorough hand therapy assessments do not necessarily need to take a full hour.
First: Know your purpose
You don’t have to have a 100% global awareness of every issue and concern of the Patient. This comes with time as you get to know the patient over subsequent visits. With any evaluation, your first goal in an eval is identifying if the Patient needs therapy, then setting the goals for ongoing therapy. This can happen by identifying limitations and strengths, an occupational profile, or any other construct. Regardless of the format, you need to be able to complete a comprehensive evaluation. But thorough hand therapy assessment do not necessarily need to take a full hour.
Lets go through the most important things to fit into an evaluation when time is limited.
Step 1: Pain
I start with pain to give it the respect it needs. The pain scale rating from 1-10 or the Visual Analogue Scale are the quickest and easiest. While these often test pain sensitivity rather than the actual intensity of pain, isn’t that the factor that matters the most: perception of pain? Knowing where a Patient has pain and how intense it feels helps me decide how I will interact with them and their injury. I like to get a rating on current, best and worst pain over the past week. This gives me information on the Patient’s psychosocial status as well as coping mechanisms. Once I know about the Patient’s pain I can proceed with hands on testing without contributing to the problem
Step 2: Range of Motion
Active range of motion is the primary indicator when trying to determine the health of structures around and within the joints. Passive range of motion is used when active motion is contraindicated or when additional information is needed about non-contractile structures. An initial visual screening of general motion of affected and contralateral sides gives the evaluator a lot of information about motion as well as apprehension and motor control. I use this to lead my goniometry.
Based on the patient’s injury I aim at measuring both sides as a comparison point. Volar/dorsal measurements are superior to lateral but lateral may be necessary due to swelling, wounds or other deformities. Any lateral measurements should be labeled so future measurements are done in the same manner.
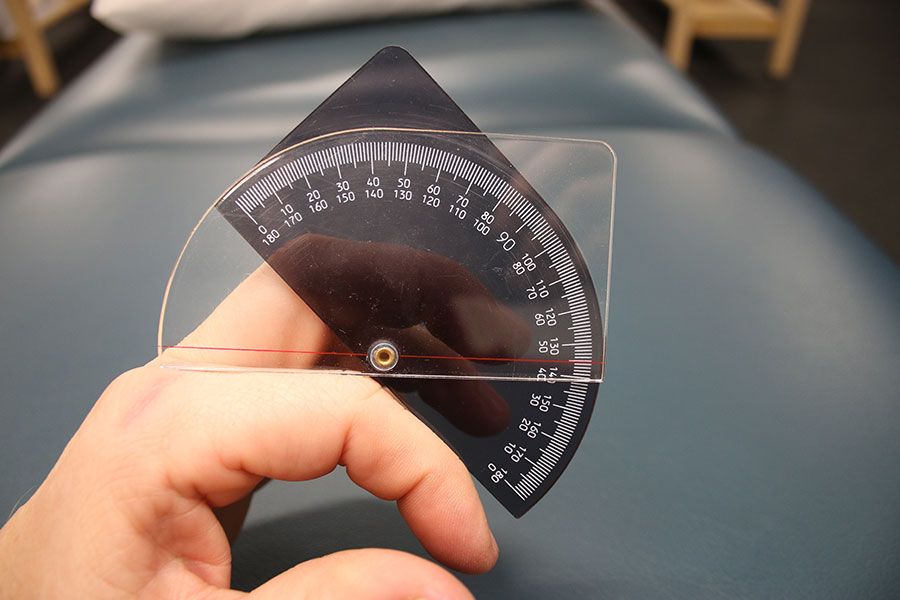
I prefer to use a Pocket Finger Goniometer for all digits as it has all degrees listed without guessing or estimating everything between units of 5 or 10. I also like to use the Kapandji score for thumb motion in addition to measuring component planes of motion. The Kapandje score gives a very functional score to thumb motion and directly relates to contralateral potential.
A few more pearls relating to goniometry:
- Measure forearm rotation at the DRUJ joint to avoid carpal mobility masking limitations.
- Total Active Motion (TAM) is a great way to measure progress of digits (flexion of all joints minus ext lag)
- Use a neutral position as 0. Any inability to reach neutral is represented as a negative (-) number and anything beyond 0 is a positive (+) number
Step 3: Strength
Almost everyone uses the same style of dynamometer. But if you use another type just make sure you calibrate it regularly and use the same method and device for repeat measures. Grip testing should be done in sitting with the elbow at the side and elbow at 90 degrees. 3 tests per hand with 15 sec rest between test is ideal. Alternating between hands is the easiest way to preserve this 15 sec interval.
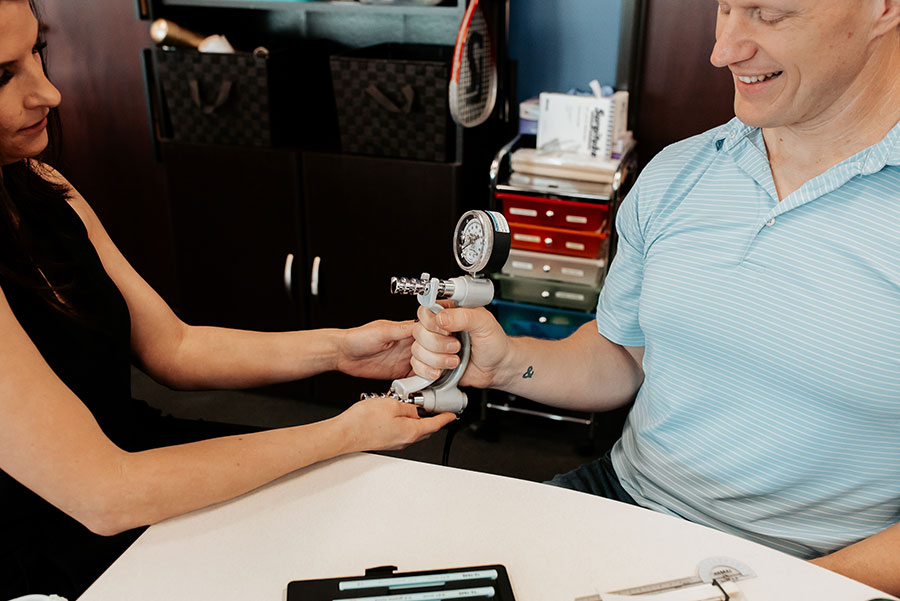
“Grip testing should be done in sitting with the elbow at the side and elbow at 90 degrees”
You can refer to statistical norms, there are plenty available in the literature. I prefer, instead, to compare to contralateral side with a typical 10-15% drop from dominant to non-dominant side.
I’ll use lateral pincer, 2-point and 3-point pincers when appropriate using a pinch dynamometer. If it is an ulnar hand issue I often won’t test these. I also don’t go through all three if one or more isn’t necessary. For example, I may not test 2-point if the only injury is to the Long finger. This helps with efficiency of time and documentation as well as minimizing what I require of the Patient.
Step 4: Sensation
Before jumping into standardized testing I do a simple question-answer about any tingling or numbness and I do gentle light touch with my finger tip to the Patient’s finger tips and hands. If this screening is clear of any issues then I proceed to the next section. If not I start standardized testing.
Tinels testing to the median, radial and ulnar nerve pathways is a really efficient way to expand your screening if the patient does report tingling or numbness. Using the Carpal Tunnel, Guyon’s canal, Cubital tunnel and Radial Tunnel are key sites for this test
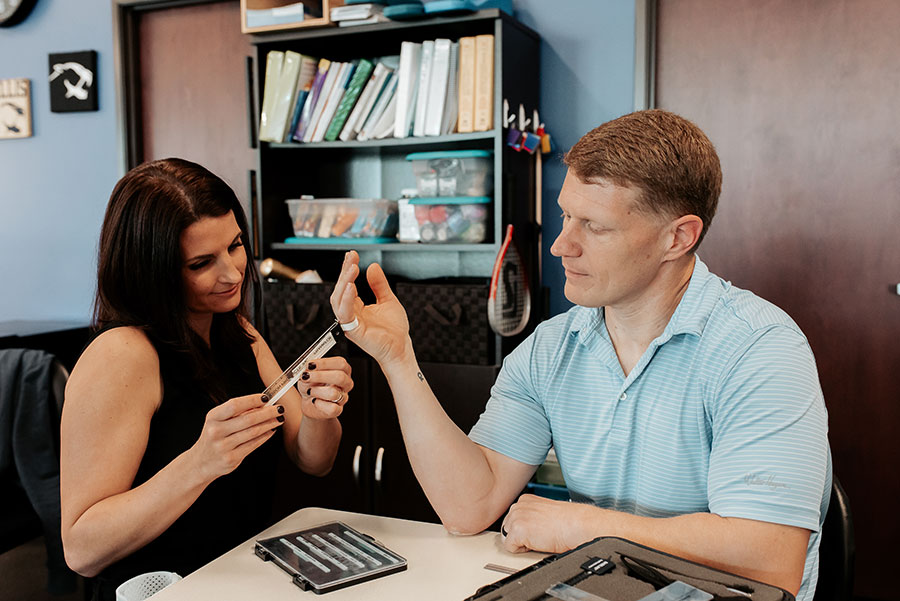
I include 2 types of standardized sensory testing in my typical evaluation: Monofilament threshold and 2-point discrimination. Using a Semmes Weinstein monofilament Kit I’ll block the Patient’s view and ask them to close their eyes. Starting at the 2.83 and working towards thicker filaments I’ll work to identify the threshold of sensation for each major area of innervation. I’ll focus on radial and ulnar sides of each finger and palm.
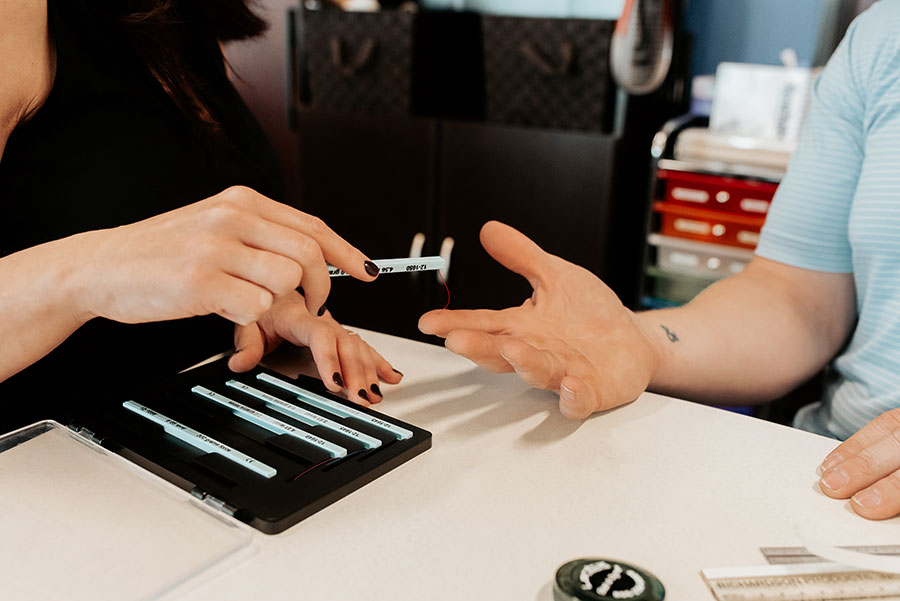
If needed, I’ll then proceed to 2-point discrimination starting at 5mm and going up by increments of 5 mm as needed.
I rely on 2-point discrimination post-traumatic nerve injury and monofilament threshold testing for nerve compression diagnoses.
Step 5: Edema
You can start with a simple visual comparison of the affected side to the contralateral side. I look for wrinkles, veins, knuckles and other skin characteristics to match side-to-side. If there is any variation from one side to the next I’ll try to do objective measurements.
Volumetry is the gold standard for edema measurement. It is, however, very cumbersome and time consuming and it exposes the clinic for risk of spreading infection if the Volumeter beaker is not cleaned thoroughly between each and every use. As a result, we rely on circumferential measurements.
Circumferential measurements can have poor inter-rater reliability as we all put on a different amount of tension on the tape measure and reference landmarks slightly differently. But, more importantly, there is good Intra-rater reliability if you can keep your methods consistent from one time to the next.
Simple circumference measurements around digit joints or phalanx can work for finger edema. For greater hand swelling, however, a figure-8 method is best. An overlap of the tape measure on the distal palmar crease (DPC) and the distal wrist crease with a cross on the back of the hand gives the most reliable data point. I will use a circumferential measurement at the DPC if appropriate.
Specialized Tests:
These are up to the therapist’s discretion based on the Patient’s needs. The list is pretty long of what you could to:
- Finkelstein’s Test
- Watson Shift Test
- Phalen’s test
- Cozen’s test
But you need to focus on the area and issue at hand and only use the 2-4 test that will give you the information you need most. You don’t need to know every test named after an old hand surgeon, but focus on the most common diagnoses and the most common tests for those diagnoses. Keep an eye out for another post in the future on some of the most often used specialized tests.
But, Most Importantly…
If we ignore the daily functional impact of the ailment, we are missing what is most important to the patient.
Throughout the whole assessment I am engaging the patient in a dialogue about work life, home life, child care, weaknesses, limitations, hobbies and anything else that gives me an insight into how their daily occupations are impacted.
Functional limitations and meaningful activities are king. All of the biomechanical information is important and will give you a road map on how to improve the Patient’s function and injury. But if we ignore the daily functional impact of the ailment, we are missing what is most important to the patient.
We rely on the Quick Dash for a standardized score, but the conversation I have with them during the assessment process gives me infinitely more information about what really matters to them. If you have all of the data points listed above, but don’t connect to who they are occupationally, your eval is incomplete.
Now What?
This is the ‘quick and dirty’ eval process. If you have more time you can really get into the nitty gritty of fine motor coordination with any number of standardized testing. You can also spend more time on manual muscle testing.
Or… Maybe the Patient’s needs require more in-depth investigation into passive motion, specialized tests or occupational profile. Each therapist needs to use his/her own clinical judgement on best practice. But know that the majority of evaluations don’t need to take 60 minutes of direct 1-on-1 testing and measurement. We can be thorough and efficient at the same time.
What do you think? Are you comfortable doing a full eval in a quicker format? What do you think takes you longest in your evaluations? Can you be more efficient in your evaluations without losing quality of care?
5 Comments
Leave a Comment
More To Read
Which is better: Splinting the MCP or PIP joint when managing Trigger Finger?
Teo, S. H., Ng D. C., Wong, Y.K.(2018). Effectiveness of proximal interphalangeal joint blocking orthosis vs metacarpophalangeal joint blocking orthosis in trigger digit: A randomized clinical trial. Journal of Hand Therapy, 1-7. The Skinny- This study compared PIP joint immobilization via an Oval-8TM with a custom MCP blocking trigger finger orthosis treatment. In the Weeds…
Read More7 Tips to Help your Patients Manage Hand Osteoarthritis
Introduction Osteoarthritis in the hands can be frustrating and debilitating. As a form of degenerative joint disease, it causes stiffness, pain, swelling, and reduced grip strength—making daily tasks like writing, opening jars, and typing feel exhausting. Fortunately, there’s a proven holistic approach centered on hand therapy for arthritic hands. This includes tailored exercises, targeted splinting,…
Read MoreOccupational and Physical Therapy Continuing Education: Evidence‑Based Practice and Research Literacy
Introduction: The Role of Research in Modern Occupational and Physical Therapy In today’s healthcare landscape, staying updated isn’t a luxury—it’s a necessity. As new research floods academic journals and treatment methodologies evolve, therapists must stay ahead. This is where occupational and physical therapy continuing education comes in. More specifically, courses that emphasize evidence-based practice (EBP)…
Read MoreSign-up to Get Updates Straight to Your Inbox!
Sign up with us and we will send you regular blog posts on everything hand therapy, notices every time we upload new videos and tutorials, along with handout, protocols, and other useful information.




I enjoyed this article thank you. I am new to the outpatient setting and am trying to find my “flow” with evaluations. I like the idea of quicker format because it gives me more time to education patient and get in a treatment if possible. One thing I’ve noticed with evaluations patient expects me to start to heal them right away! So if I have more time to maybe get in a HEP or maybe a modality the patient may be more appreciative.
We totally agree! I try to get busy helping the patient as soon as possible. Get those measurements and objective measurements in efficiently, then get busy making changes and educating the client.
Great Blog! Really helps to keep you on track for evals
My son have a hand evaluation aftrr loosing 2 fingers of his right hand now i want a second opinion i am from worcester in western cape
Look up a hand therapist near you on http://www.htcc.org